Saturday 13 February 2016

Mausoleum continued

I have now finished unwrapping the model and have got most of the texture completed. I just need to create normals maps and overall make the texture look dirtier and more weathered.

Here is the final model in Maya with textures:


And here is shot in unreal engine 4 with some night lighting:


Tuesday 9 February 2016

Art test Mausoleum

Some good news arrived. I just got given an art test by a game company. (Not going to say who just case they don't want people to know what their test is before applying.) They have given me a week to create a Victorian era Mausoleum. I am pretty much free to do whatever I want with the design, the only limits I have are 10,000 polys, a 2048x2048 Diffuse texture ( along with 1024x1024 supporting maps) and for the model to be smaller than 6 metres length, width and height in real life scale (Roughly).

To start I collected some resource images.


and there were many more. The main things that seem to be characteristic of Victorian Mausoleums are archways, crosses and a sloped roofs. I will integrate these three things into my design. 

I will start by created a base mesh in Maya. 


This is not completely finished, the front is a bit bare at the moment but I am happy with the overall design. I tried to keep it fairly simple as id rather do a really good job of a simple design than do a bad job of an elaborate awkward model. 
After finishing this the next stage is to import it into ZBrush to really bring it to life.

Thursday 4 February 2016

Tileable bricks

To Brush up on my sculpting a bit I decided to create some bricks. I started off with a base mesh created in Maya. I wanted to make sure that the bricks had some variation to them so that it looked more realistic. I will do this even more in ZBrush by adding cracks and broken pieces.


I made sure that this model tiled correctly. I then exported it into ZBrush.

I did not want to go over the top with the sculpting detail so I kept it fairly simple. Here are a few bricks that I have sculpted to get an idea of what the whole model will look like.


Now I just need to add this detail onto every brick and eventually add some noisy surface detail to the whole model.

Here is a shot of the final sculpt:


Now I just need to bake it onto a flat plane.

Here is the Normal map that has been baked:


This is now ready to be put onto a flat plane turning 2.5 million tris into 2 tris with the same level of detail.

The next stage will be to create a Diffuse, Ambient occlusion, Height and Roughness maps.
The first thing I will do is to create the Ambient Occlusion and Height by importing my Normal map into the program Knald.

Here are the Maps that were created:
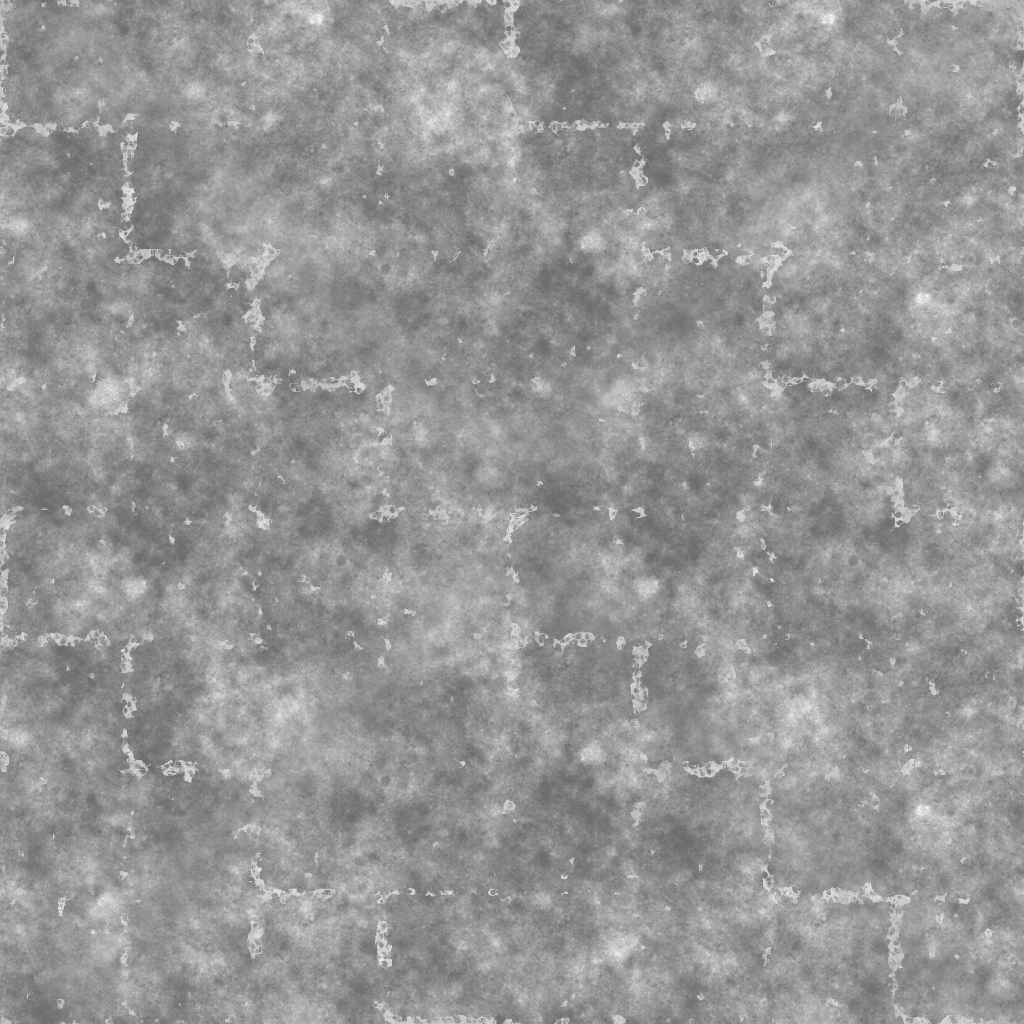
Ambient Occlusion:


And the Height:


Now to create a Diffuse and Roughness.

Here is the Diffuse I created:


And this is the Roughness:


And here is the final render:


To view in 3D: https://sketchfab.com/models/445f20a81a4647c6a5889e7d3603de2d

Tuesday 2 February 2016

Creating Soundwaves

For our game, the main mechanic is that every step you take and any noise you make releases a soundwave. I decided the best way of creating it would be to use the material editor in Unreal 4.
After doing some research and watching a few tutorials I made this material:


There are a few different nodes that easily allow you to change the way the sound waves work such as the width of each wave, the amount of waves and the speed of them. Here is a shot of it in game reacting to the characters movement.


It's pretty hard to show it properly on the blog but this view is looking down at the characters feet from first person. As you walk the rings radiate outwards and fade out. Depending on whether you are walking or running the waves will radiate further before fading out. This can be reused on objects that we are able to pick up and throw.

the next step for this material will be to try and give it a watery/wavy look rather than just bold blue rings.

Monday 1 February 2016

Substance Painter/Designer

I recently decided to start using Substance Painter and Designer to try and learn how to create procedural textures and materials, as this is becoming the industry standard, especially for AAA studios.

Using Substance designer I managed to create a procedural brick texture. Once it's made you can easily adjust the setting of it such as: The normal controlling the brick height, The level of surface detail, how many bricks are in each tile and the colour of the bricks. This means that it is really easy to reuse this for other projects as I can really change the look of it and have different variations within a minute or so. Here is the final texture in Unreal 4:


And here are the separate maps:

Diffuse:


Roughness:


Normal:


Height:


Ambient Occlusion:

I'm quite happy with how it looks. To improve it I would add more variation into it such as cracks, chipped corners and have some bricks looks more elevated than others.


And here is the Substance Designer graph: